Bali Visa Guide: Everything You Need to Know Before Your Island Escape

Bali Visa Guide: Everything You Need to Know Before Your Island Escape
So, you're dreaming of Bali? Sun-kissed beaches, lush rice paddies, ancient temples – it's a truly magical place! But before you pack your bags and book that flight, let's talk about something crucial: your Bali visa. Navigating the visa requirements can feel a little daunting, but don't worry, I'm here to guide you through it. Consider this your friendly, down-to-earth guide to making sure your Bali adventure starts smoothly.
Understanding the Bali Visa Landscape

The first thing to understand is that Bali uses Indonesian visa policies. It's not a separate entity in that regard. Therefore, knowing the different visa options available for Indonesia is key to figuring out which one is right for your trip. Things have changed quite a bit in recent years, so it's important to stay up-to-date.
In general, the visa you need depends on the purpose and length of your stay. Are you planning a short vacation? A longer stay to work remotely? Or perhaps something more involved, like studying or investing? Each scenario has a corresponding visa type. Don't just assume – a little research now can save you a lot of headaches later!
Visa-Free Entry: Short and Sweet Stays

For many nationalities, including those from the US, UK, Australia, and most of Europe, Indonesia offers a Visa-Free entry for tourism. This sounds amazing, right? And it can be, as long as you meet certain conditions. Here's the catch:
1. Limited to Tourism: This visa is only for tourism purposes. No business, no work (even remote work), no journalism – just pure, unadulterated vacation bliss.
2. 30-Day Limit: You can stay for a maximum of 30 days, and this cannot be extended. Seriously, no exceptions. If you overstay, you'll face hefty fines – and trust me, you don't want that.
3. Specific Entry Points: Make sure you arrive at one of the designated entry points. This usually includes major international airports like Denpasar (DPS) in Bali and Soekarno-Hatta (CGK) in Jakarta. Double-check the official list of entry points before you travel.
I remember when I first travelled to Bali, I was so excited that I almost forgot to check if my nationality was eligible for visa-free entry! Luckily, a friend reminded me, and I was able to confirm before booking my flight. So, always double-check!
Visa on Arrival (VoA): A Little More Flexibility

The Visa on Arrival (VoA) is another popular option, and it offers a bit more flexibility than the visa-free entry. Here's what you need to know:
1. Who's Eligible? Many nationalities are eligible for the VoA, including those that are eligible for Visa-Free entry. Check the most current list on the Indonesian Immigration website.
2. 30-Day Initial Stay: Like the visa-free entry, the VoA initially allows you to stay for 30 days.
3. Extension Possible: Here's the key difference! The VoA can be extended once, for another 30 days, giving you a total stay of 60 days. This is perfect if you want to explore Bali a little longer.
4. Cost: There's a fee for the VoA, which you can pay in Indonesian Rupiah (IDR), US dollars, or by credit card at the airport. I always recommend having some cash on hand, just in case the credit card machines are down.
5. Application Process: You can apply for VoA upon arrival at designated immigration counters. The process is generally straightforward, but be prepared for potential queues, especially during peak season. You can also apply for the e-VoA online prior to arrival. This allows you to skip the line upon arrival.
Extending the VoA requires a bit of legwork. You'll need to visit an immigration office in Bali (Denpasar, Jimbaran, or Singaraja) before your initial 30-day visa expires. The process involves filling out forms, providing copies of your passport and visa, and paying a fee. Some people choose to use a visa agent to handle the extension process for them, which can save you time and hassle.
B211A Tourist Visa: For Extended Tourist Stays
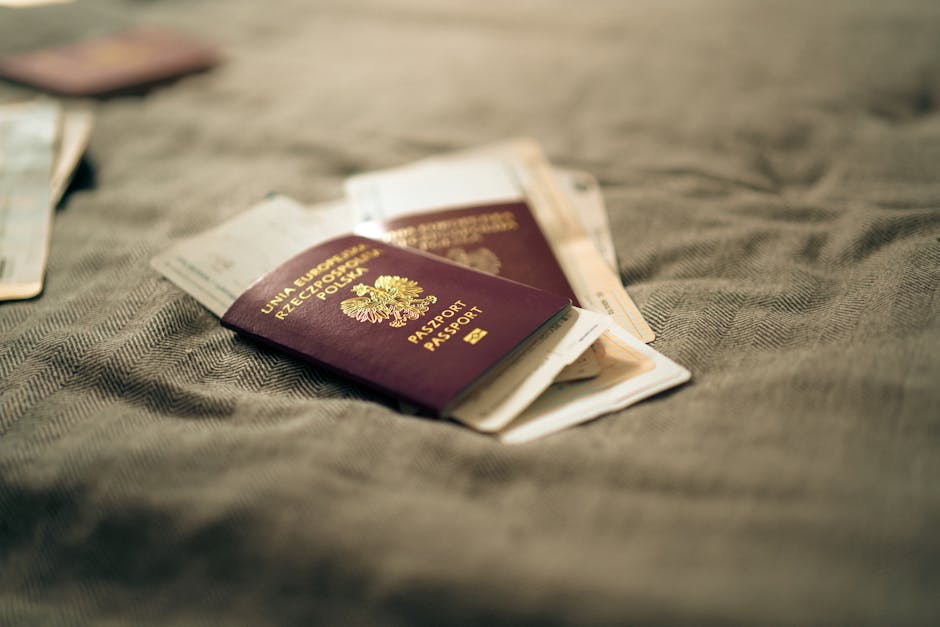
If you're planning a more extended stay in Bali for tourism purposes, the B211A Tourist Visa might be the perfect solution. This visa allows you to stay in Indonesia for up to 60 days initially, and it can be extended twice, for a total stay of 180 days. This is the perfect visa for a digital nomad who wants to stay for a long period, or a tourist who really wants to explore the entire country.
Here are the key things to know about the B211A Tourist Visa:
1. Sponsor Required: You'll need a sponsor to apply for this visa. This can be a travel agency, a visa agency, or even an Indonesian citizen. I've used visa agencies in the past, and they've been really helpful in guiding me through the application process.
2. Application Process: The application process is usually done online, through the Indonesian Immigration website, with the assistance of your sponsor.
3. Required Documents: You'll need to provide various documents, including a copy of your passport, a passport-sized photo, proof of funds, and a statement of purpose.
4. Extensions: You can extend the B211A visa twice, each time for 60 days, by visiting an immigration office or using a visa agent.
5. Allowed Activities: This visa is specifically for tourism, visiting family, social, art, cultural, government non-commercial duties, or short courses. You are not allowed to work or engage in any business activities while on this visa.
I know a few people who thought they could "sneak in" some remote work while on a B211A visa, but it's really not worth the risk. If you're caught, you could face serious consequences, including deportation and being banned from entering Indonesia in the future. It's always best to be upfront and get the right visa for your activities.
Other Visa Options to Consider

While the Visa-Free entry, VoA, and B211A Tourist Visa are the most common options for tourists, there are other visa types available for different purposes. Here are a few to keep in mind:
1. KITAS (Temporary Stay Permit): The KITAS is for those planning to work, study, or live in Indonesia for an extended period. There are different types of KITAS, depending on your specific circumstances.
2. KITAP (Permanent Stay Permit): The KITAP is for those who want to live in Indonesia permanently. This visa is usually granted to investors, retirees, or those married to Indonesian citizens.
3. Work Visa: If you plan to work in Indonesia, you'll need a work visa, which is sponsored by your employer.
4. Student Visa: If you're planning to study in Indonesia, you'll need a student visa, which is sponsored by your educational institution.
Navigating these visas can be tricky, so it's always best to consult with an immigration lawyer or a reputable visa agency to ensure you're getting the right visa for your needs.
Essential Tips for a Smooth Visa Experience

Okay, so you've chosen your visa type. Here are some essential tips to ensure a smooth experience:
1. Check Your Passport Validity: This is a big one! Your passport must be valid for at least six months beyond your intended stay in Indonesia. I've heard horror stories of people being denied entry because their passport was expiring too soon. Don't let that be you!
2. Photocopies are Your Friend: Make several photocopies of your passport, visa, and other important documents. Keep them separate from the originals, in case of loss or theft.
3. Stay Informed About Regulations: Indonesian visa regulations can change frequently. Always check the latest information on the official website of the Indonesian Directorate General of Immigration or consult with a visa agency.
4. Be Prepared to Answer Questions: Immigration officers may ask you questions about your trip, such as your purpose of visit, length of stay, and accommodation details. Be polite, honest, and clear in your answers.
5. Have Proof of Onward Travel: Immigration officials may ask for proof of onward travel, such as a return flight ticket or a ticket to another destination. It's always a good idea to have this handy.
I once forgot to print out my return flight ticket, and the immigration officer gave me a really hard time. Luckily, I was able to access it on my phone, but it was a stressful few minutes! Lesson learned: always be prepared.
Common Visa Mistakes to Avoid

Let's face it, visa applications can be confusing, and it's easy to make mistakes. Here are some common pitfalls to avoid:
1. Overstaying Your Visa: This is a big no-no! Overstaying your visa can result in hefty fines, detention, and even deportation. Always keep track of your visa expiry date and make sure to extend it before it expires, if necessary.
2. Engaging in Prohibited Activities: Make sure you understand the permitted activities for your visa type. Don't engage in any activities that are not allowed, such as working on a tourist visa.
3. Providing False Information: Never provide false or misleading information on your visa application. This can lead to your visa being rejected or revoked.
4. Using Unreliable Visa Agents: Be cautious when choosing a visa agent. Do your research and make sure they are reputable and licensed. There are many scam artists out there who will take your money and leave you stranded.
5. Not Planning Ahead: Don't wait until the last minute to apply for your visa. The application process can take time, so it's always best to start early.
Choosing the Right Visa Agent

If you decide to use a visa agent, it's crucial to choose one that is trustworthy and reliable. Here are some tips for finding a good visa agent:
1. Check Their Credentials: Make sure the visa agent is licensed and registered with the relevant authorities.
2. Read Reviews and Testimonials: Look for online reviews and testimonials from other travelers who have used their services.
3. Ask for Referrals: Ask friends, family, or other travelers for referrals.
4. Compare Prices: Get quotes from several different visa agents and compare their prices.
5. Understand Their Terms and Conditions: Before hiring a visa agent, make sure you understand their terms and conditions, including their fees, cancellation policy, and refund policy.
A good visa agent can save you a lot of time and hassle, but a bad one can create even more problems. Do your research and choose wisely!
A Few Final Thoughts

Getting your Bali visa sorted out might seem like a chore, but it's a necessary step to ensuring a stress-free and enjoyable trip. By understanding the different visa options, planning ahead, and avoiding common mistakes, you can navigate the visa process with confidence.
Remember to stay informed about the latest regulations, check your passport validity, and be prepared to answer questions from immigration officials. And if you're unsure about anything, don't hesitate to seek advice from a reputable visa agent or an immigration lawyer.
So, go ahead and book that flight to Bali! With a little preparation, you'll be sipping cocktails on the beach in no time. Selamat jalan (safe travels)! And don't forget to send me a postcard!
Post a Comment